vignette("intro") has shown how to set up a package
skeleton with indiedown. This article teaches you how to apply
customizations to produce a template that fits your needs.
Customization points
indiedown does not modify the default .tex template of
Pandoc. Instead, all modifications are applied on top of it. This should
make it compliant with future releases of Pandoc and R Markdown.
There are three possible customization points to customize an indiedown skeleton:
Set defaults (such as fonts or geometry) in the YAML header at
inst/indiedown/default.yamlTweak LaTeX settings at
inst/indiedown/preamble.texApply dynamic adjustments in
pre_processor.R(advanced)
For this tutorial, we will focus on the first two points only.
default.yaml
Let’s have a look at inst/indedown/default.yaml:
# indiedown: customize defaults in YAML header here

indent: false
compact-title: true
subparagraph: true  # needed for titlesec
papersize: a4
documentclass: article
secnumdepth: 2
fontsize: "11pt"

mainfont: regular.ttf
mainfontoptions:
- Path=<<indiedown_path>>/fonts/
- BoldFont=bold.ttf
- ItalicFont=italic.ttf
- BoldItalicFont=bolditalic.ttf
- Scale=0.92

linestretch: 1.05

geometry:
- top=2cm
- bottom=2cm
- left=2cm
- right=2cm
These are simply defaults for the custom template. So rather than
adding these options to the YAML header of the .Rmd each
time, they can be stored centrally. You can overwrite these values in
the .Rmd file.
It is recommended to set as many customizations as possible as Pandoc options, and fall back to LaTeX if this is not possible. A full list of options is given in the LaTeX section of the Pandoc manual.
In our case, we want to use slightly wider page margins, so we change the geometry to:
Changing Fonts
Changing the font to fit your corporate style is usually the first step in customization.
Note that <<indiedown_path>> will be
automatically substituted with the actual location of
inst/indiedown. That is why we can include assets
that are picked up by the template. The default template includes the
free Roboto font, which is located at inst/indiedown.
We could replace that with a proprietary font to match the corporate design. Instead we use a helper function to get one of Google’s free fonts.
use_indiedown_gfonts(id = “lato”)
The function relies on the gfonts package to
download and install the Lato font. If you don’t know the ID of
a font, use gfonts::get_all_fonts() to get a list of all
available fonts.
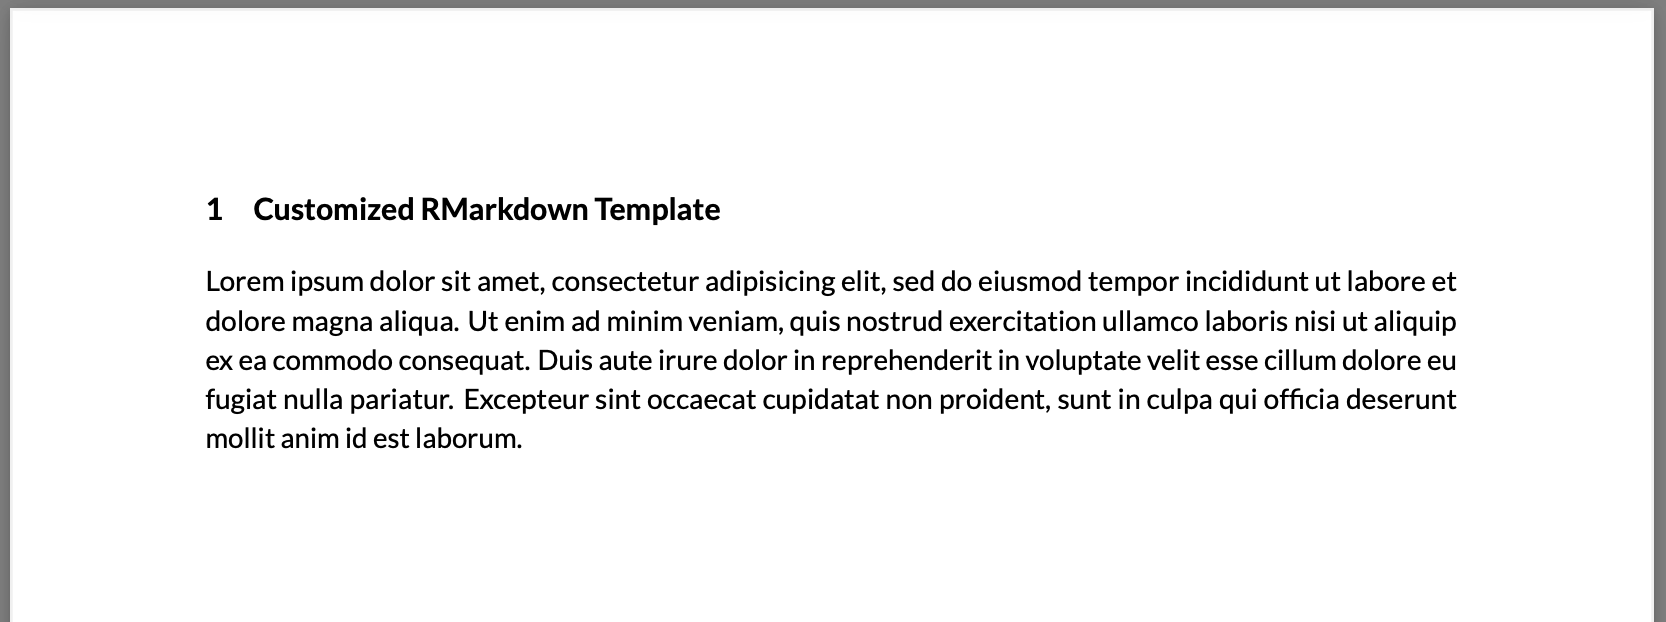
Let’s preview what we have by now:

preamble.tex
Let’s turn to the second customization point,
preamble.tex. This contains LaTeX code that is run at the
beginning. Add everything here that cannot be changed in the
default.yaml. We want to use slightly bigger headers, and
change the titlesec line to:
As for default.yaml, it supports substitution of
<<indiedown_path>>, so you could link to images
here as well. Generally, you do not want do too many thing here. Note
that the default LaTeX title page is disabled in the default template,
for good reason:
Instead, we will build our own title page in R now.
A customized title page.
One of the core principles of indiedown is to keep corporate design elements as R code. That way, elements can be arranged flexibly and adjusted to particular needs.
As a final step, we build a customized title page by modifying the
function definition of R/cd_page_title. The function writes
LaTeX code that will be added to the .Rmd when
cd_page_title() is called.
To make writing of LaTeX code in R easy, we rely on the raw string
feature that was added in R 4.0.0. It allows you to write pure LaTeX
code in R, without having to escape every \ by a second
\\.
If you have to use a version of R that is older, the
read_tex() function offers an alternative way to write
unescaped LaTeX code. See ?read_tex.
The indiedown_glue() helper function uses the glue package to
substitute variables in the string. That way, variables such as
title or subtitle will be substituted in the
LaTeX code.
With indiedown_path_tex(), you can also refer to the
path of inst/indiedown, and use assets from the package. In
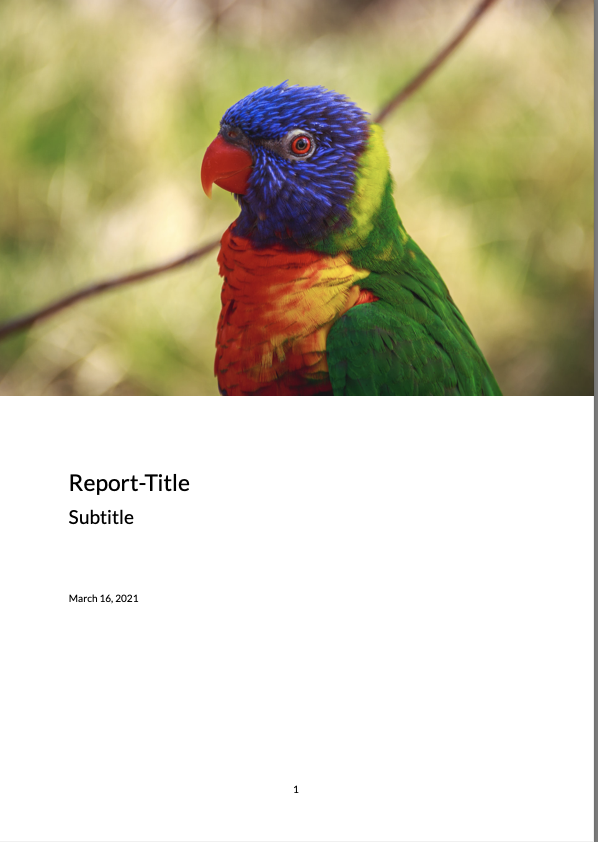
the example, we use this to include a logo. Now, we don’t want to use a
logo but rather a photograph of a beautiful parrot. We download the
image from unsplash.com in
medium quality and store it in
res/mikhail-vasilyev-gGC63oug3iY-unsplash.jpg. Then, we
change the function definition as follows:
cd_page_title <- function(title = default(rmarkdown::metadata$title, "Title"),
                          subtitle = default(rmarkdown::metadata$subtitle, "Subtitle"),
                          date = default(rmarkdown::metadata$date, cd_format_date(Sys.Date()))) {

  img_path <- indiedown_path_tex("res/mikhail-vasilyev-gGC63oug3iY-unsplash.jpg")

  indiedown_glue(
    # R >=4, raw strings allow to write LaTeX without escaping \ etc
    r"(

\vspace*{-3cm}

\begin{center}
\makebox[\textwidth]{\includegraphics[width=\paperwidth]{<<img_path>>}}
\end{center}

\vspace*{2cm}

\noindent \Huge <<title>>

\noindent \huge <<subtitle>>

\vspace*{2cm}

\normalsize

\noindent <<date>>

\clearpage
    )"
  )
}
Of course, we could also pass an image path as an argument, so we can choose a different title page in each report.
Building the package again, and running the template
.Rmd, we get:

Where to go from here
indiedown provides a framework to easily generate customized R Markdown templates. Templates can be customized by the full power of Pandoc and LaTeX through various points of customization.
This walk-through introduced two of them. For more details and a
description of the third one, see
vignette("customize").